Setup
Prerequisites
Before you begin, ensure you have the following:
- A micro-USB cable
- e² Studio application installed on your PC
- Access to Reality AI Tools (Explorer Tier or full subscription access)
Setting Up the Hardware
- Connect the micro-USB cable from the port to your PC.
Note: The debug LED (LED5) will blink or light up orange.
Setting Up the Software
Follow these steps to set up e² Studio and configure your workspace.
-
Open the e² Studio application.
-
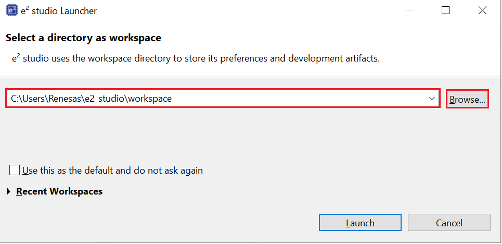
Select a workspace location.
- In the Workspace dialog box, specify a location for the new workspace.
- You can enter a name to create a new workspace or browse an existing one.
- Use a simple path and avoid spaces in the directory name.
Example:C:\Workspaces\Renesas_RA
Note: File and directory names cannot contain spaces.
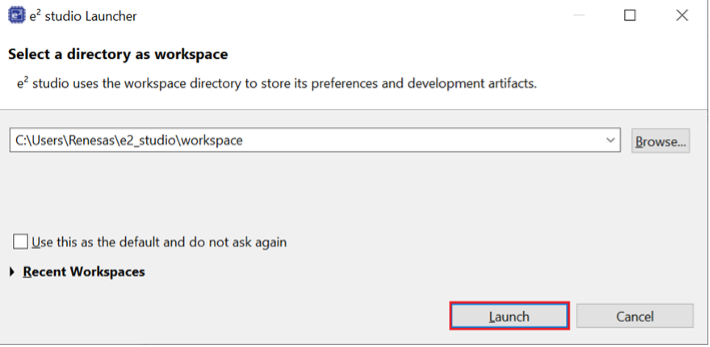
-
Click Launch to start e² Studio in the specified path.
-
When prompted, click Apply to close the window. Logging in and usage reporting remain disabled.
-
To hide the welcome screen, click Hide in the top-right corner.